- For Lever Wrap installation and Sling setup instructions, scroll down this page.
- For use and care instructions, please scroll to the bottom of this page.
Installation of your Cartridge Cuff:
1. Make sure your rifle or shotgun is unloaded.
|
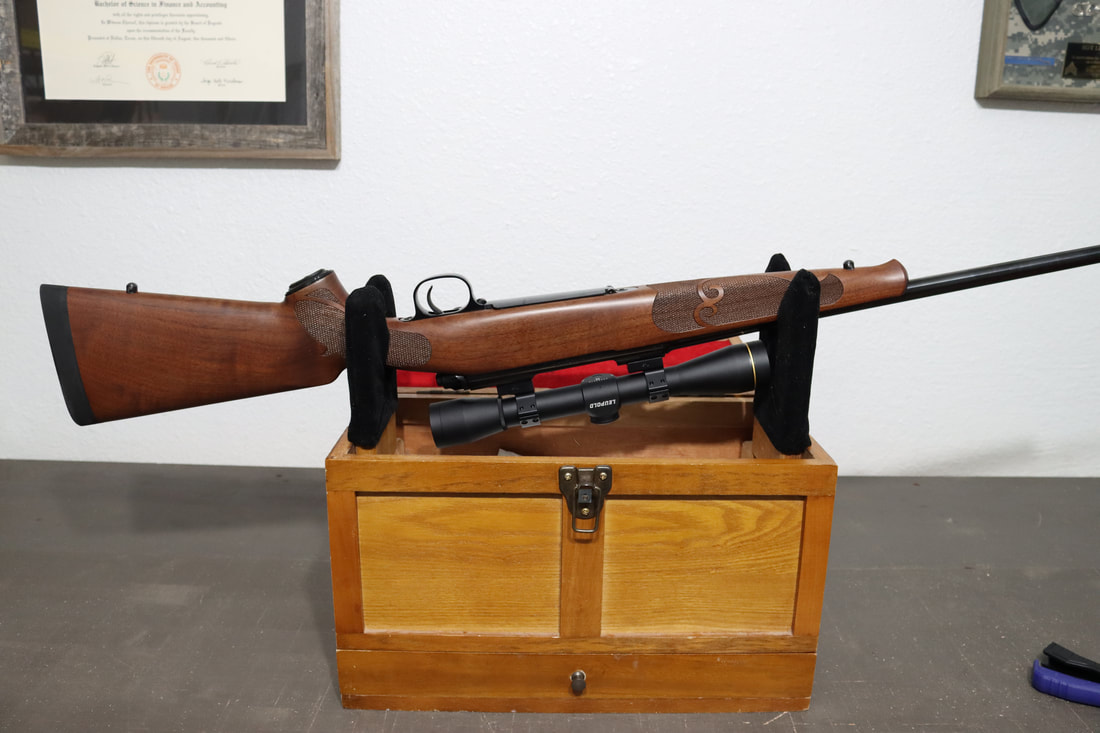
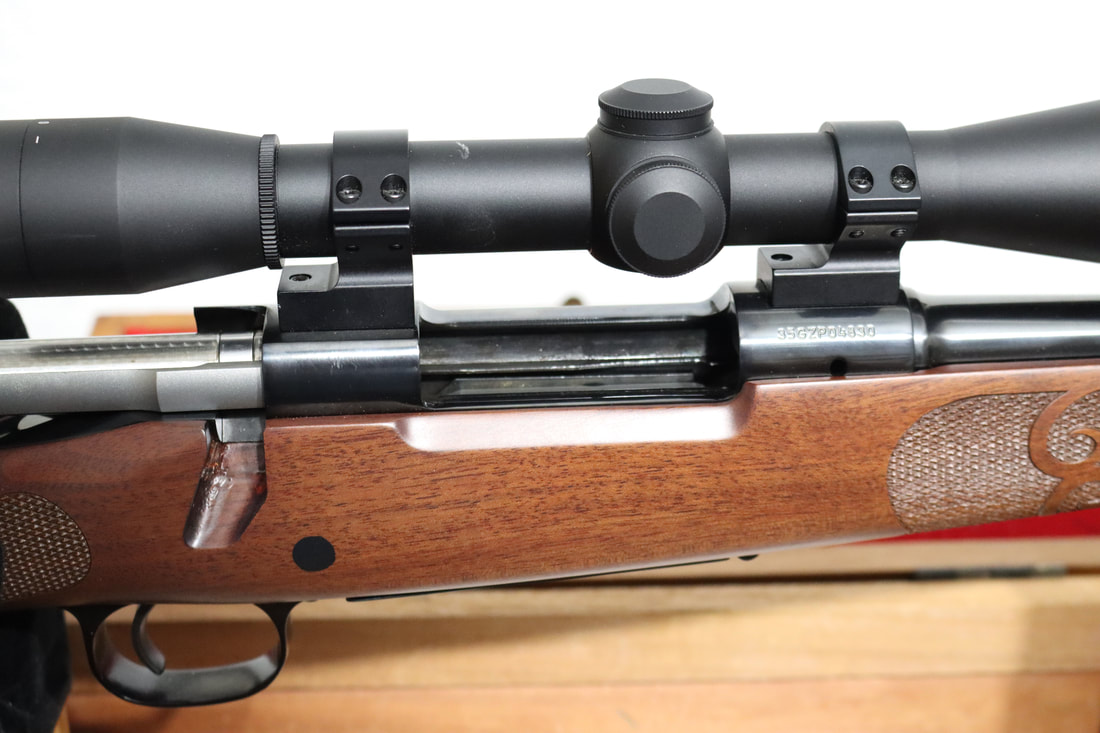
2. Place the rifle or shotgun upside-down on a cleaning stand. You can also do this between your knees, but it's not as easy.
|
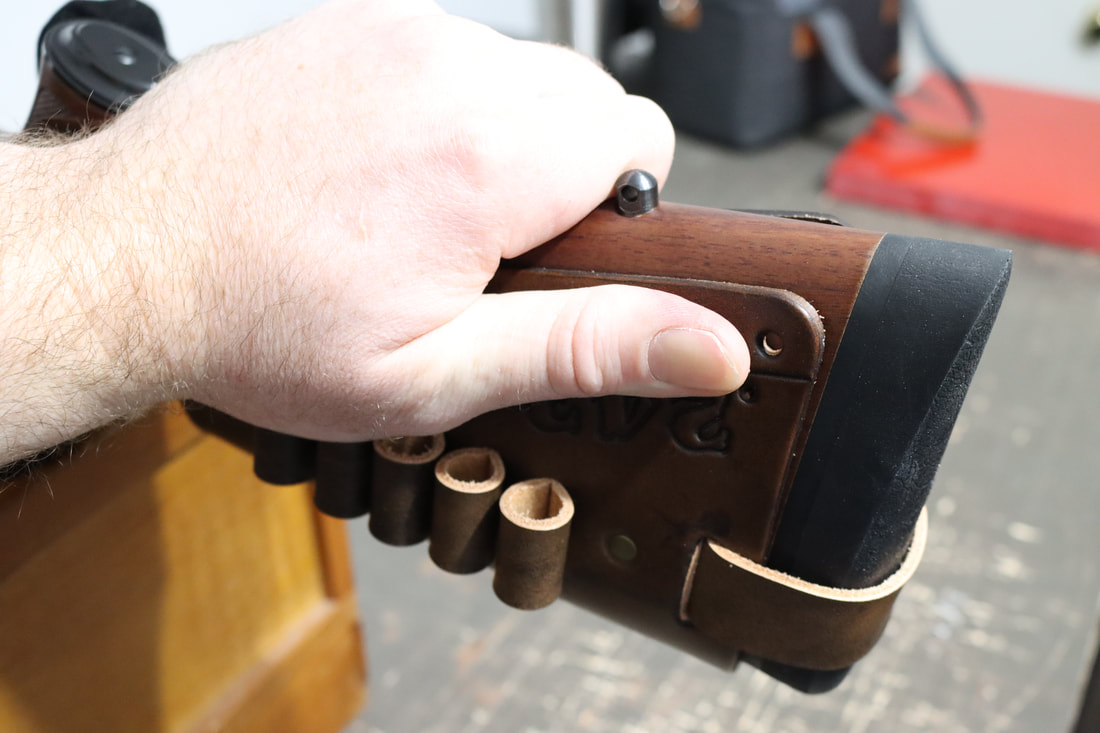
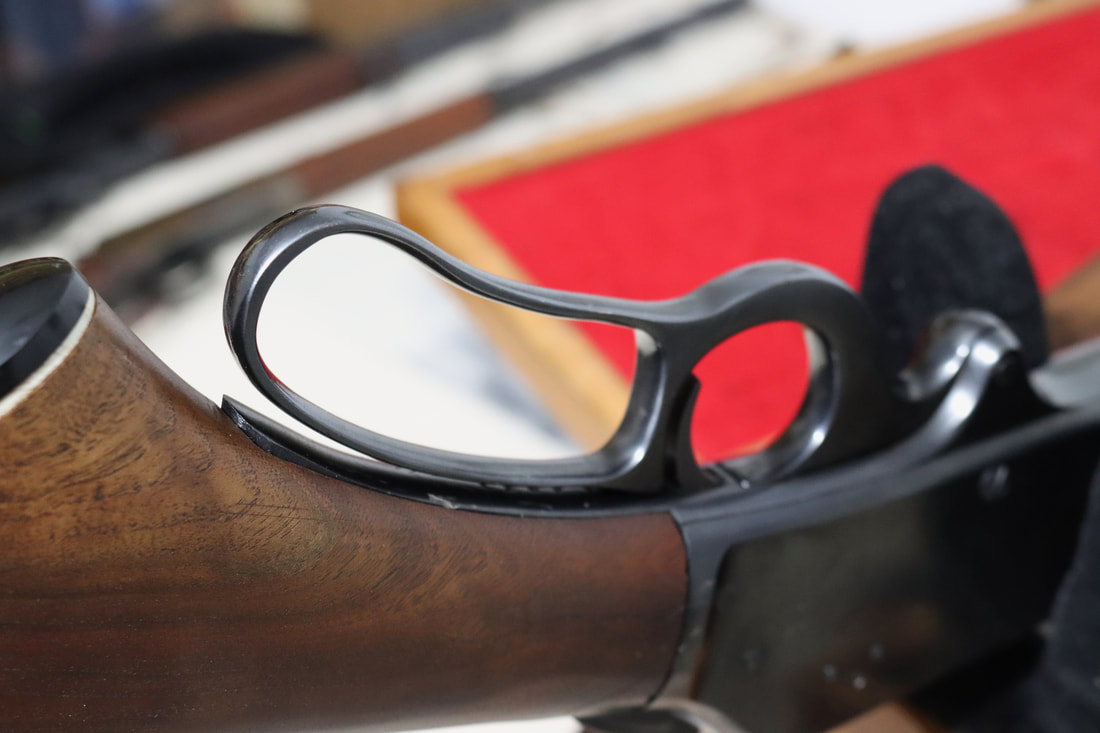
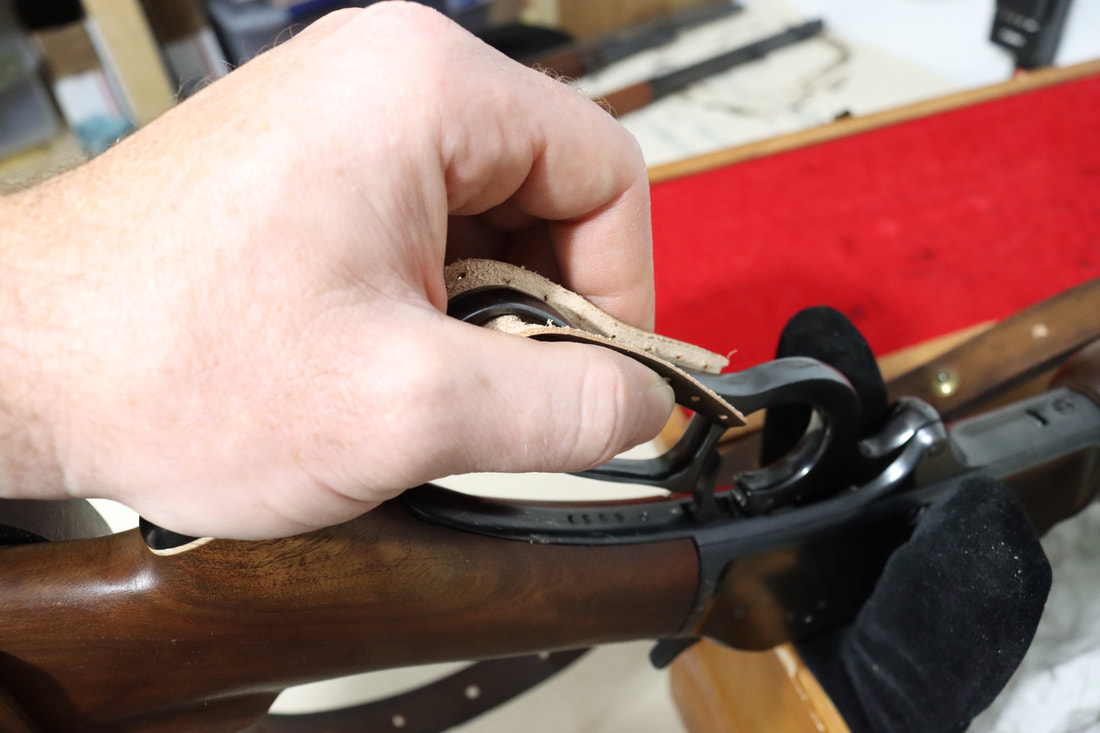
3. Place the Cartridge Cuff on the butt stock. Make sure the rear-strap is firm against the butt plate or butt pad.
|
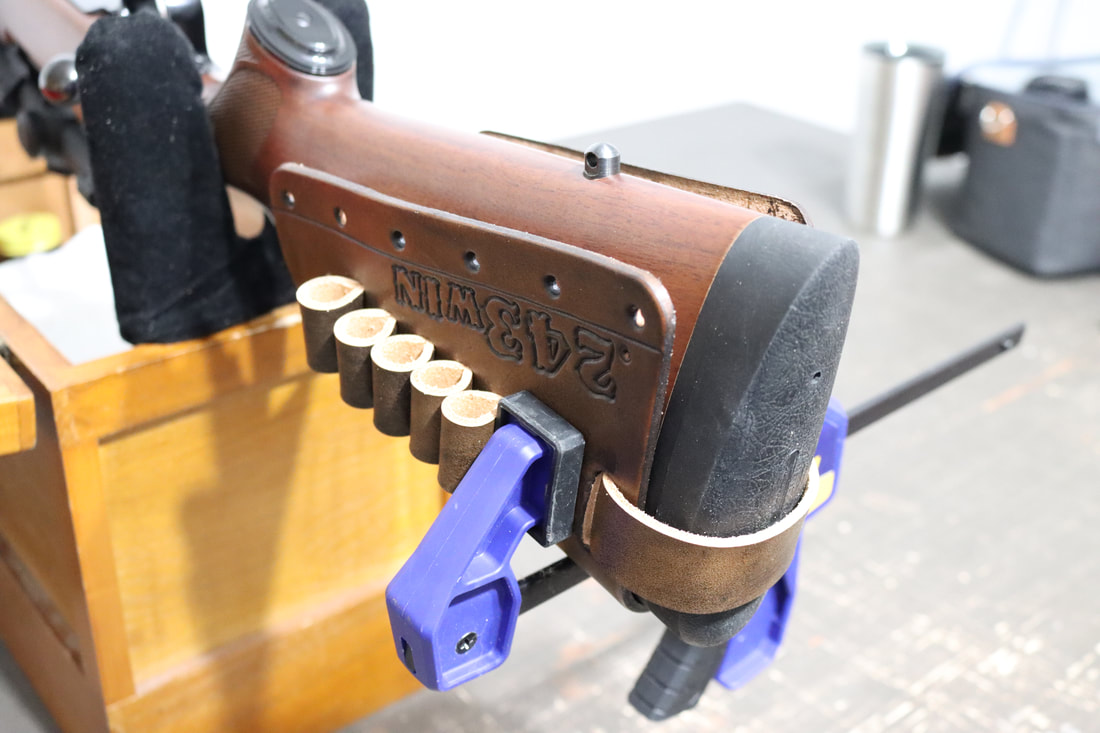
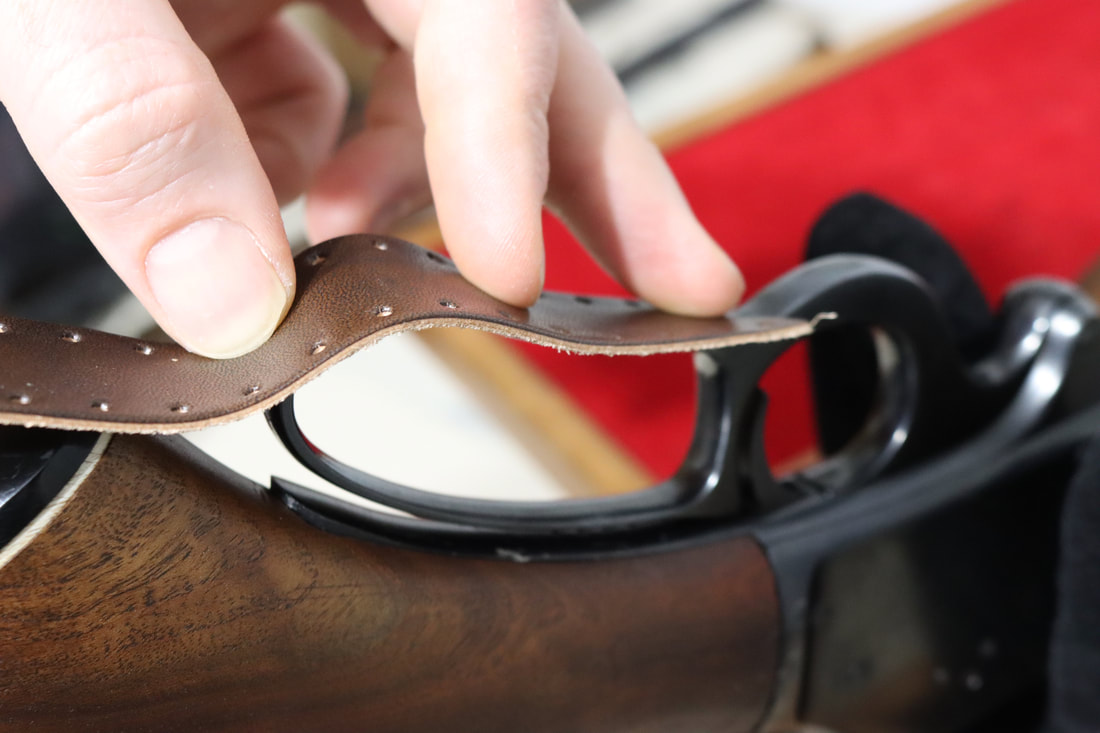
4. Lacing on the Cartridge Cuff is made easier by using a light-duty clamp to keep the Cuff in place hands-free, however it is not necessary.
|
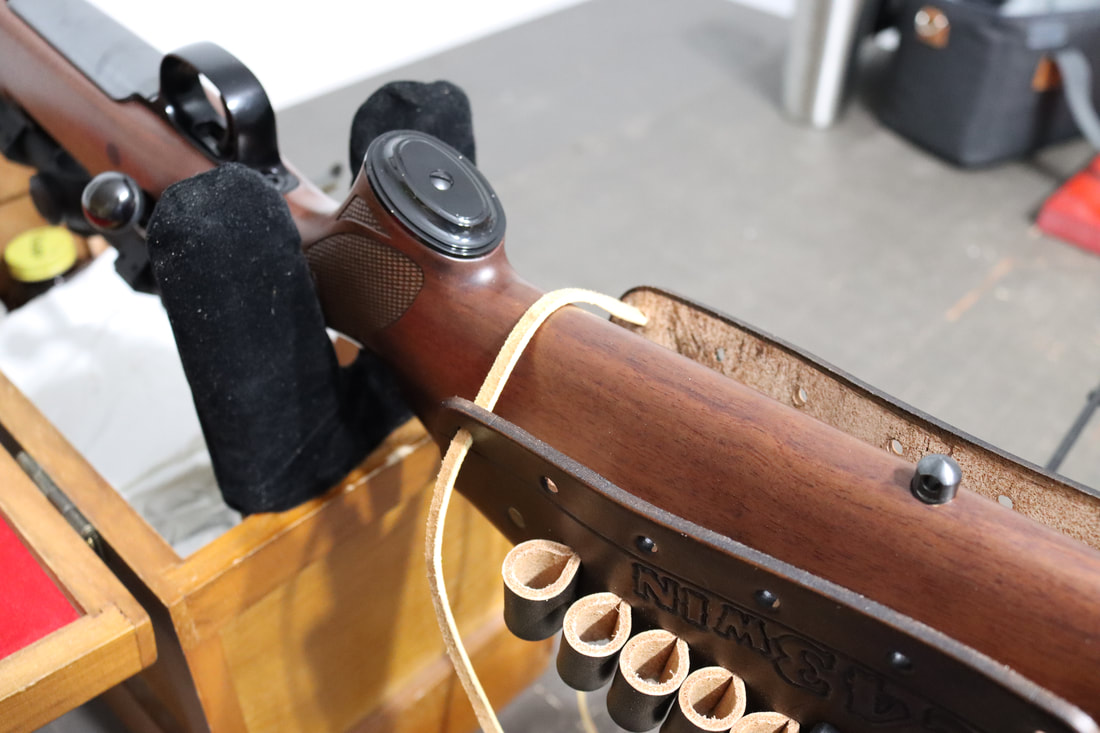
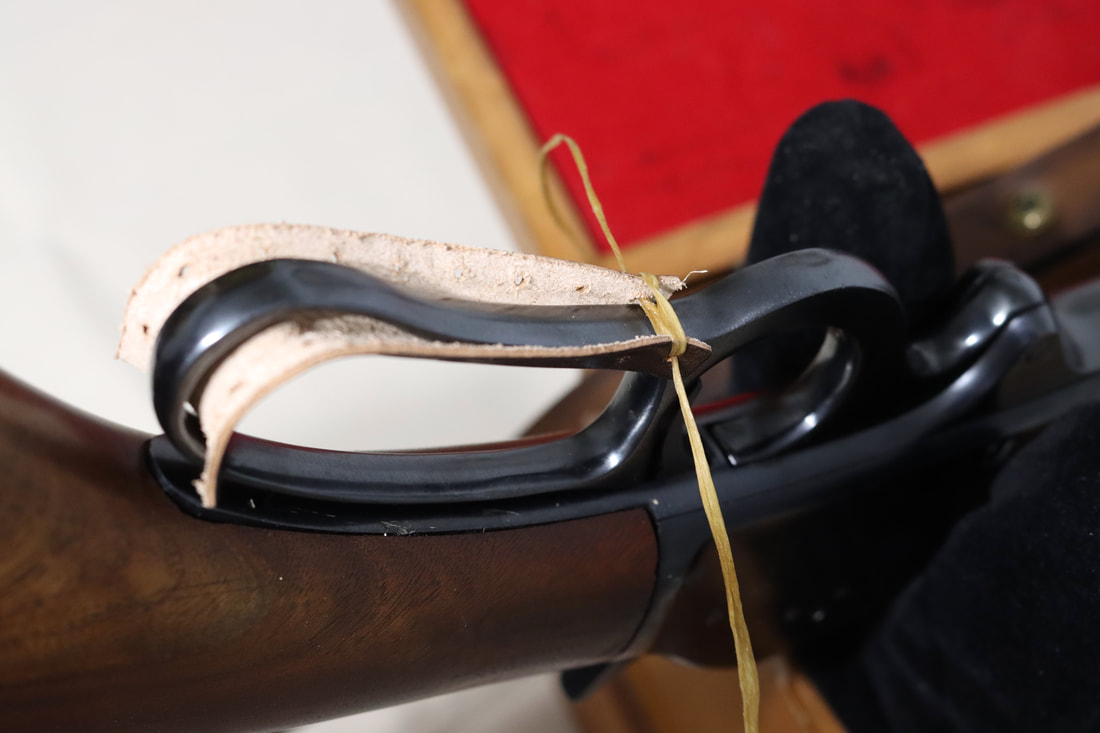
5. Center your leather lace or 550-cord through the forward-most holes, nearest the stock's grip area.
|
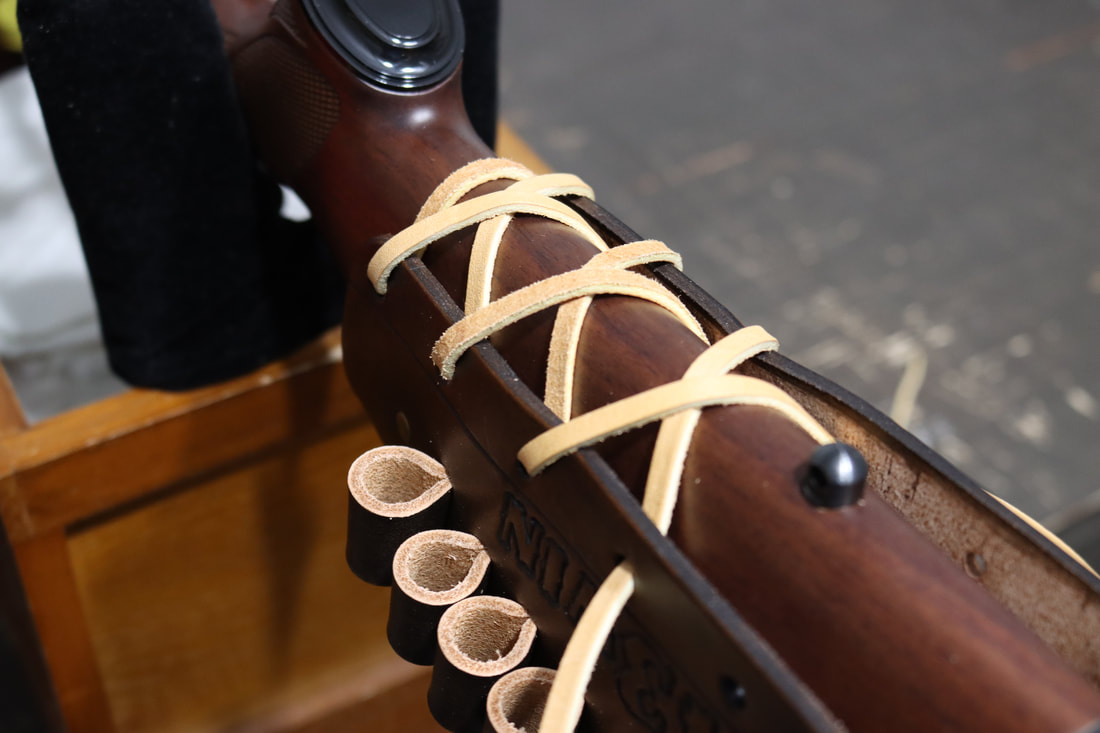
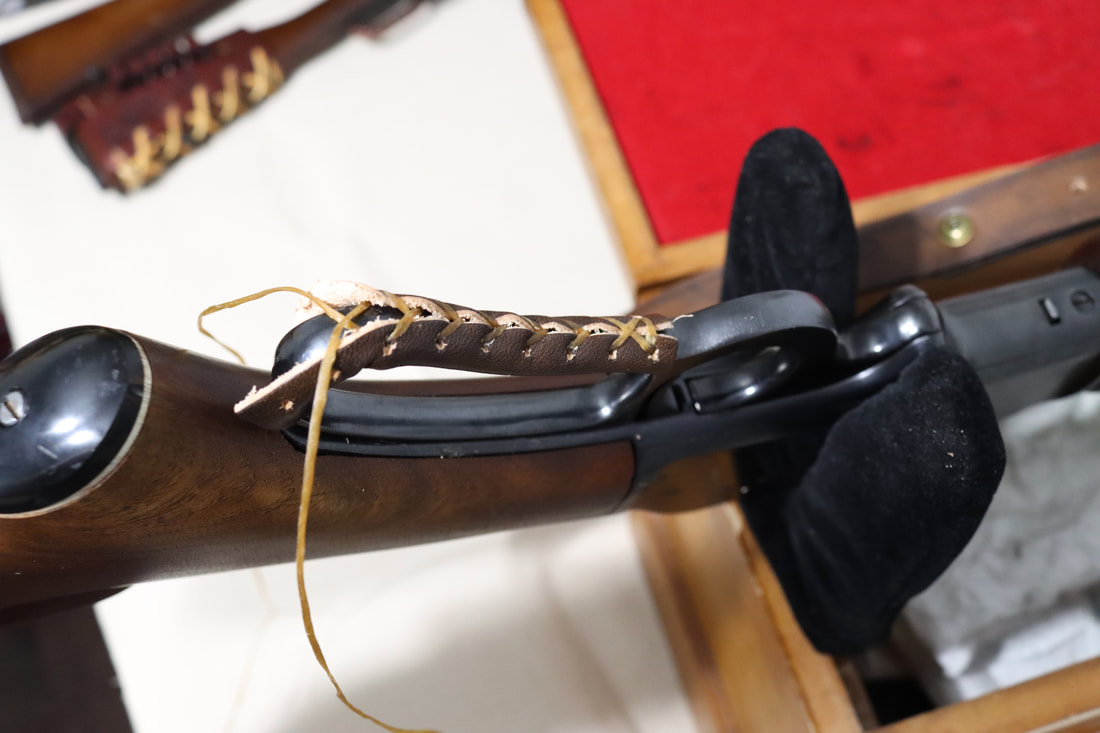
6. Continue lacing in a crisscross pattern, just like lacing-up a boot.
|
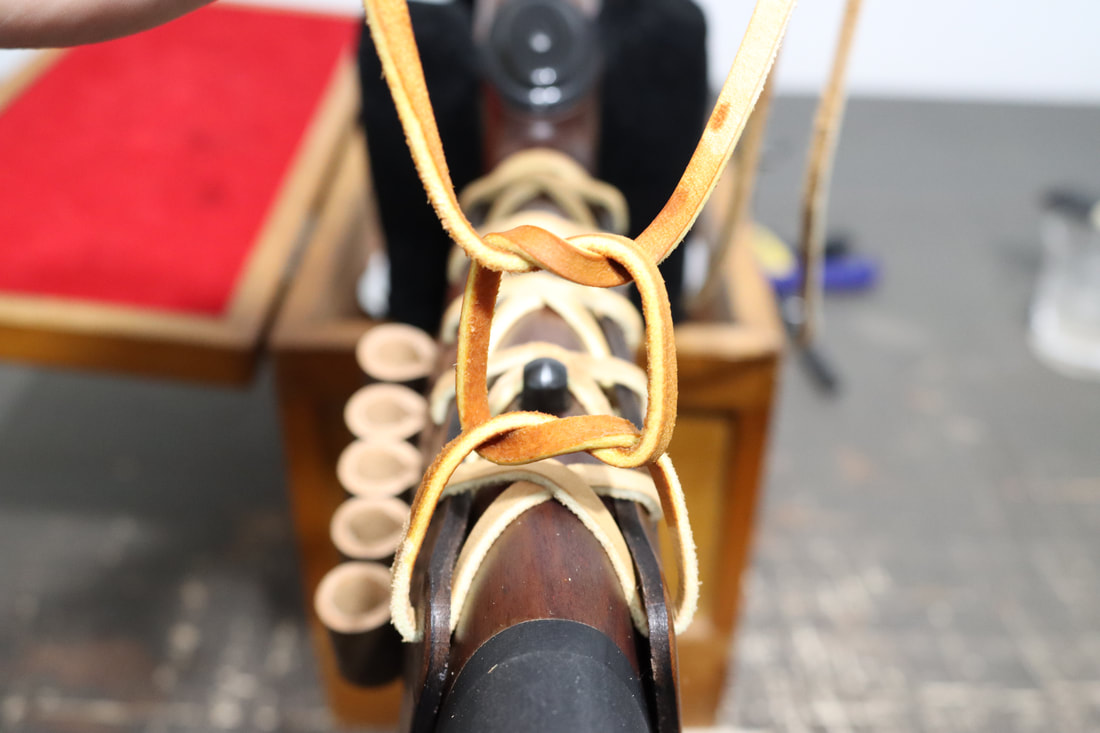
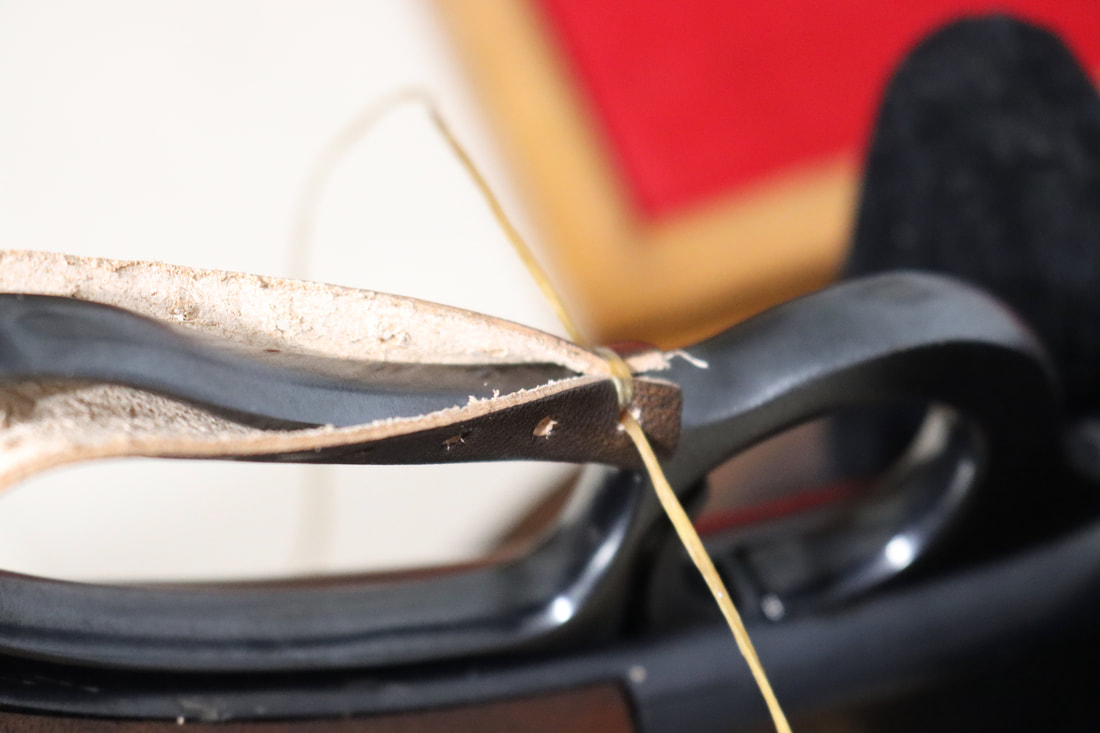
7.1 Go back to the front holes and tighten-up the lacing, pulling out all the slack, working towards the butt.
|
7.2 Laced tightly all the way to the butt.
|
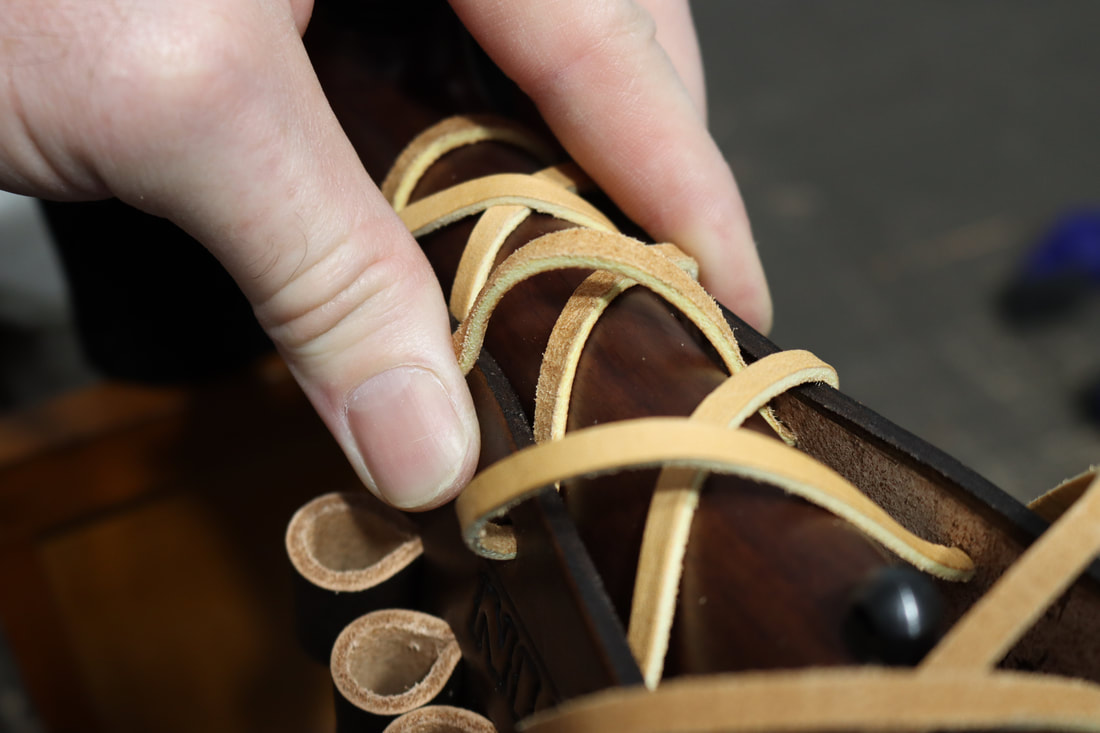
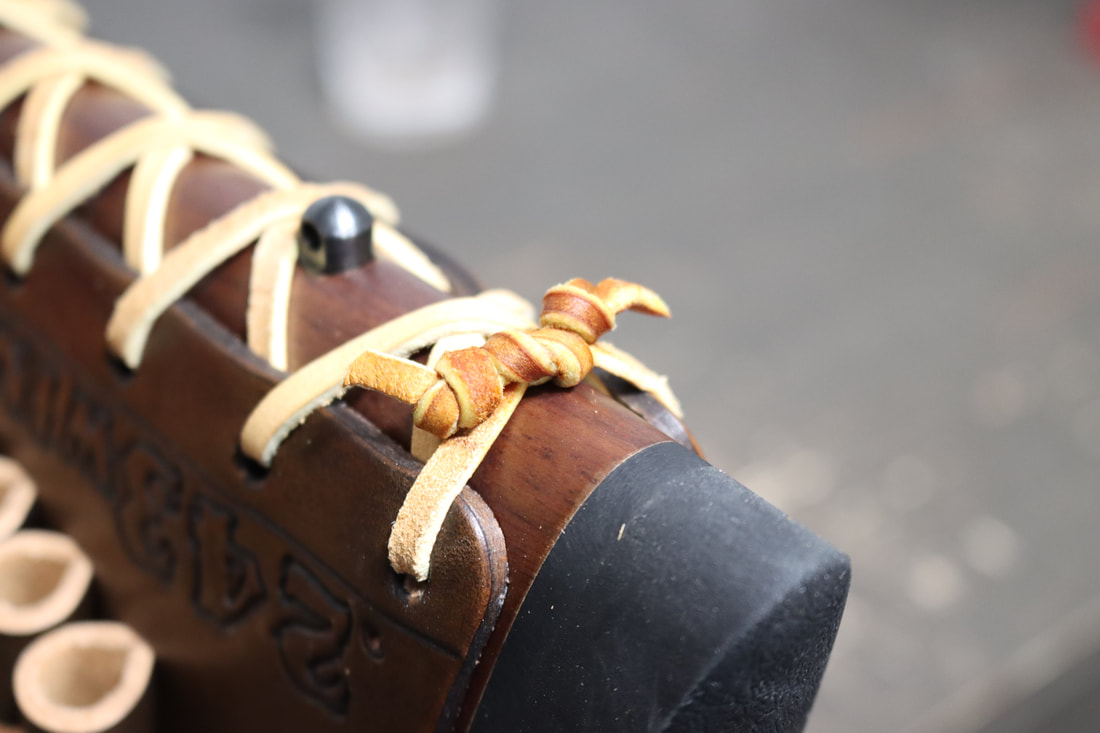
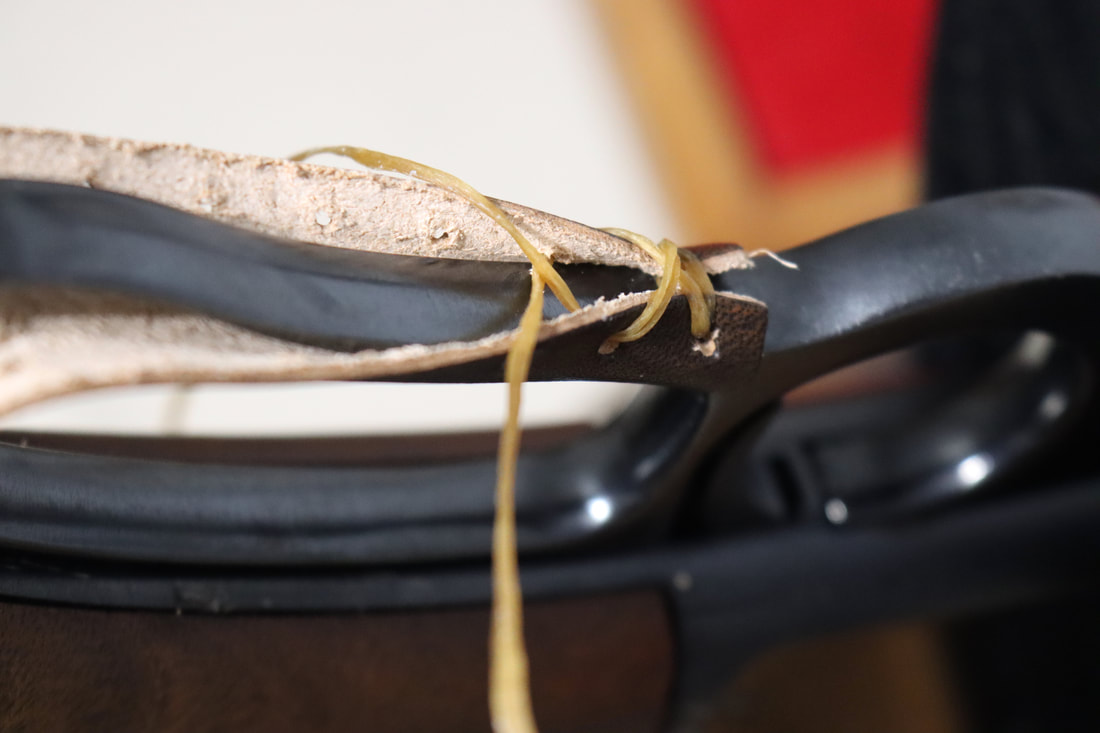
8. Once sufficiently tight, tie the tag ends together in a square knot (or any secure knot) making sure to cinch the knot tightly to keep the overall lacing job tight. You can wet leather lace slightly to achieve a tighter knot. With leather lace I tie an overhand knot tight against the square knot on either tag end to ensure it'll never slip (as seen in next picture).
|
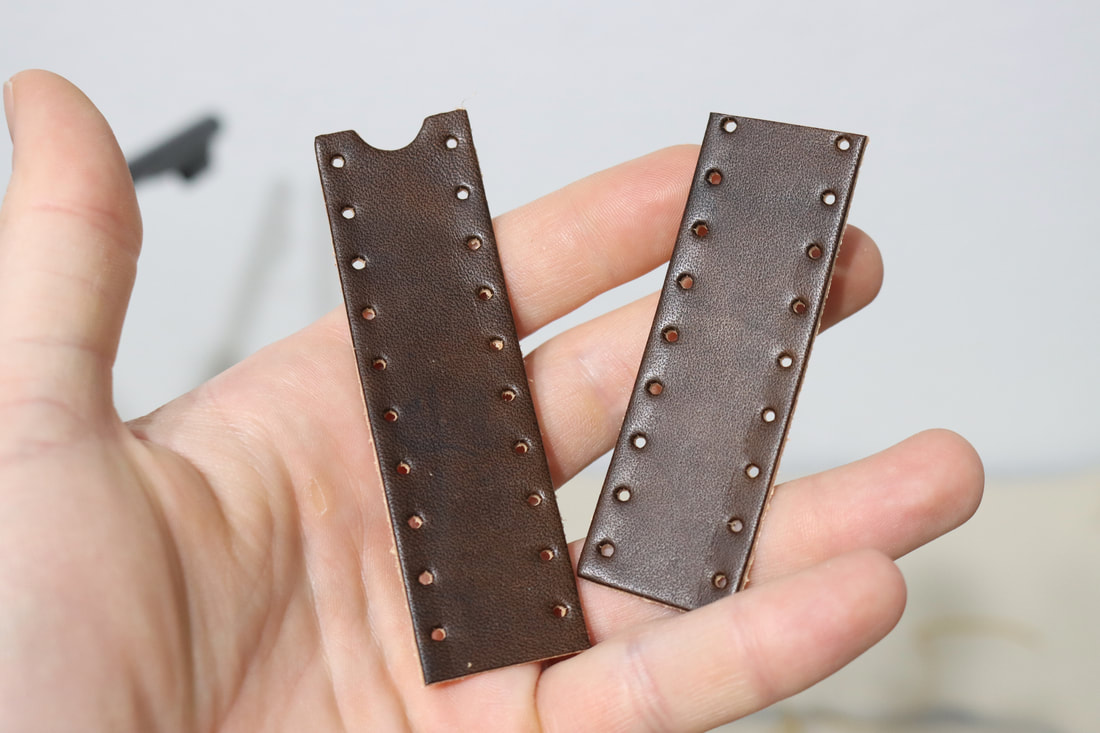
9.1 If using leather lace, cut off the excess, or you can tuck it forward under the crisscross lacing. For 550-cord, burn the ends to keep it from fraying. That's it! Cartridge Cuffs are not meant to be taken on and off repeatedly, but installed securely and left alone. You will need new lacing to reinstall a Cartridge Cuff as you should have to cut the old lacing to remove it. Extra lacing is available in my Hardware & Extras section.
|
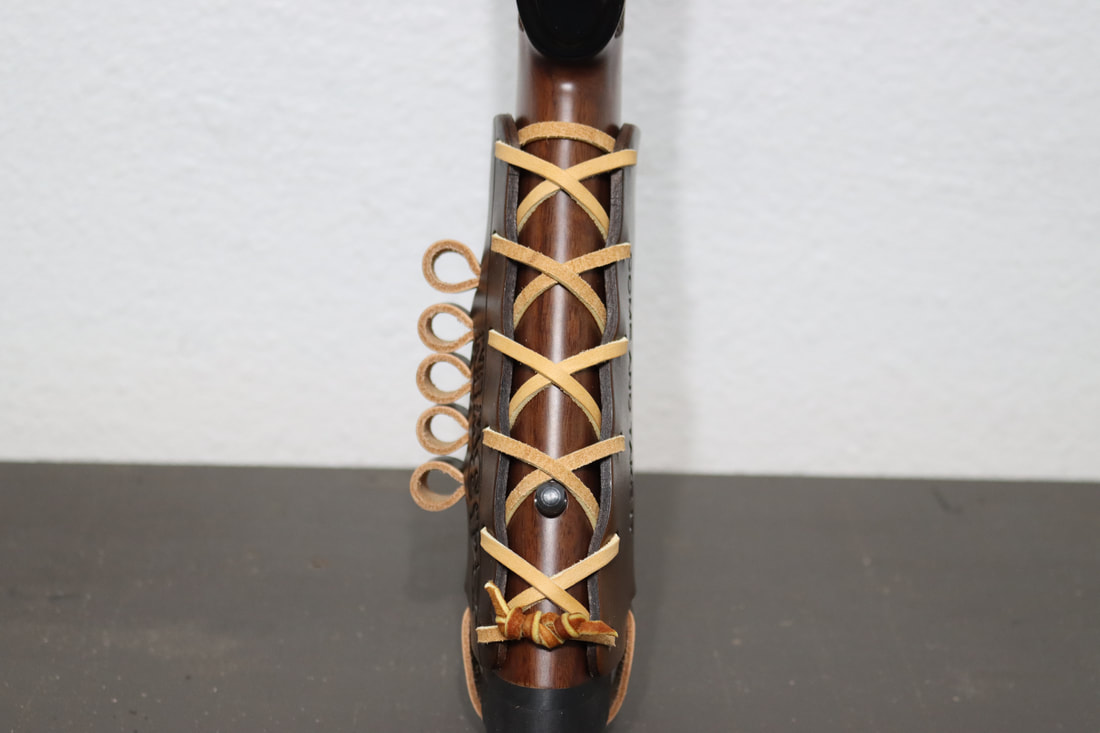
9.2 Lacing shown from underside
|
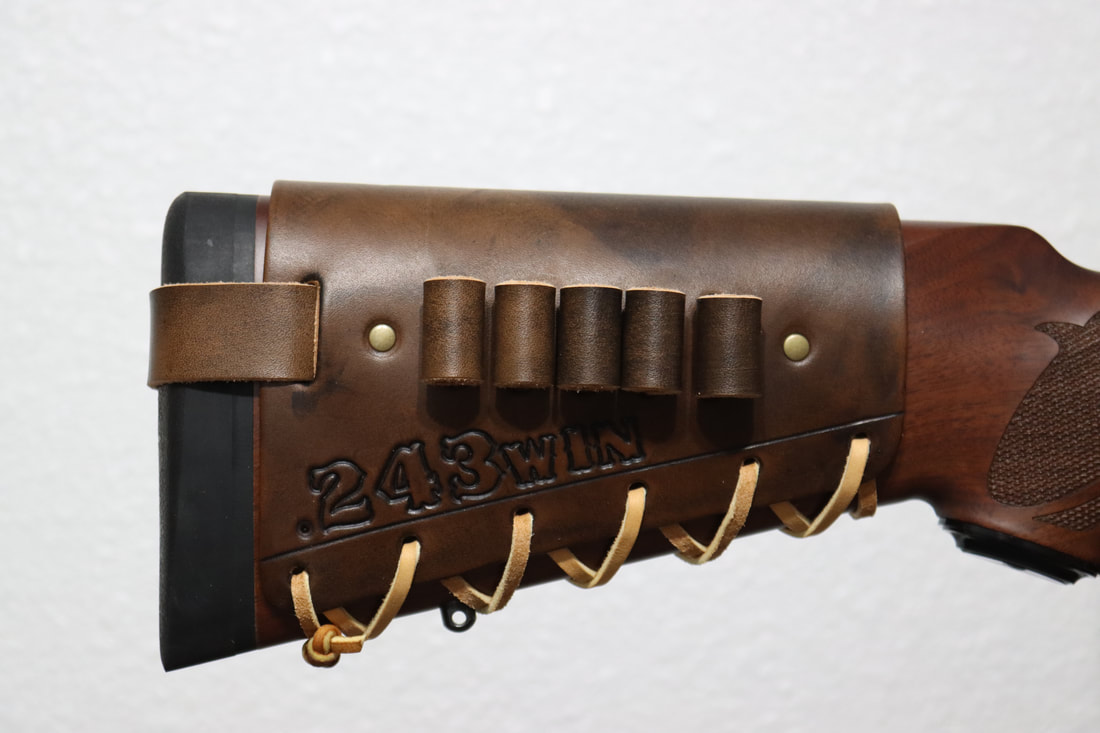
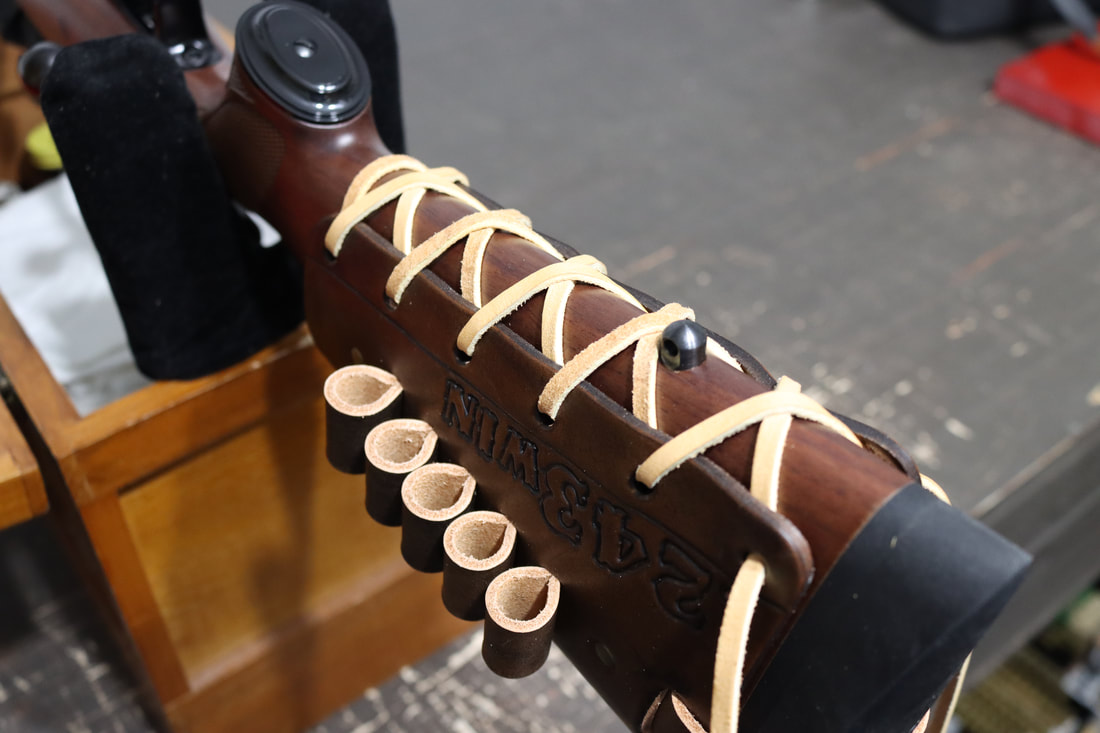
9.3 Cartridge Cuff securely laced on to a Winchester model 70 Featherweight Compact 243 Winchester
|
Installation of your Lever Wrap:
1. Start with your unloaded lever action rifle supported upside down. I use a cleaning rack but you could do this between your knees if necessary.
|
2. Estimate how long your lever wrap needs to be by placing it over the lever. If unsure, cut it a little long first. You can always shorten it more, but once it is cut you can not make it longer again!
|
3. Once the appropriate length is determined, cut the wrap to length with sharp shears or a razor knife. The U shaped cutout goes forward towards the trigger guard.
|
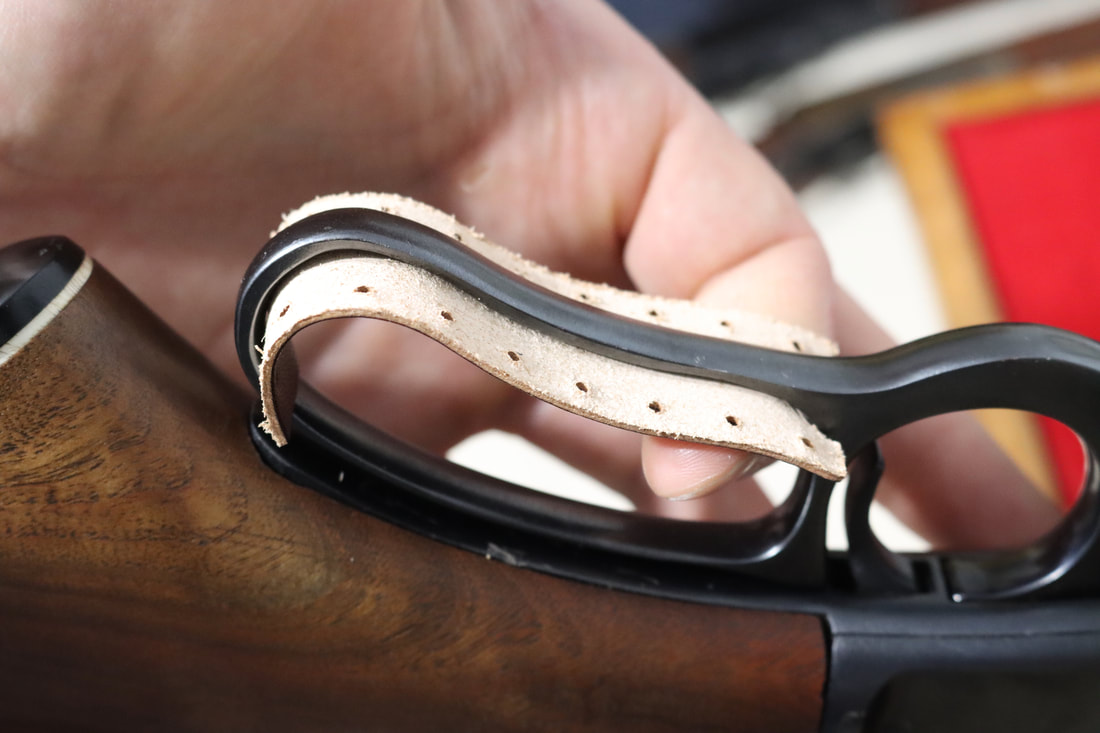
4. Place the wrap inside the lever, with the U shaped cutout towards the trigger guard. The underside of the wrap is left un dyed and bare so as to protect your metal. The vegetable tanned leather will not cause your lever to rust.
|
5. Mold the leather lever wrap around your lever so it starts to take shape. This will make lacing it on easier.
|
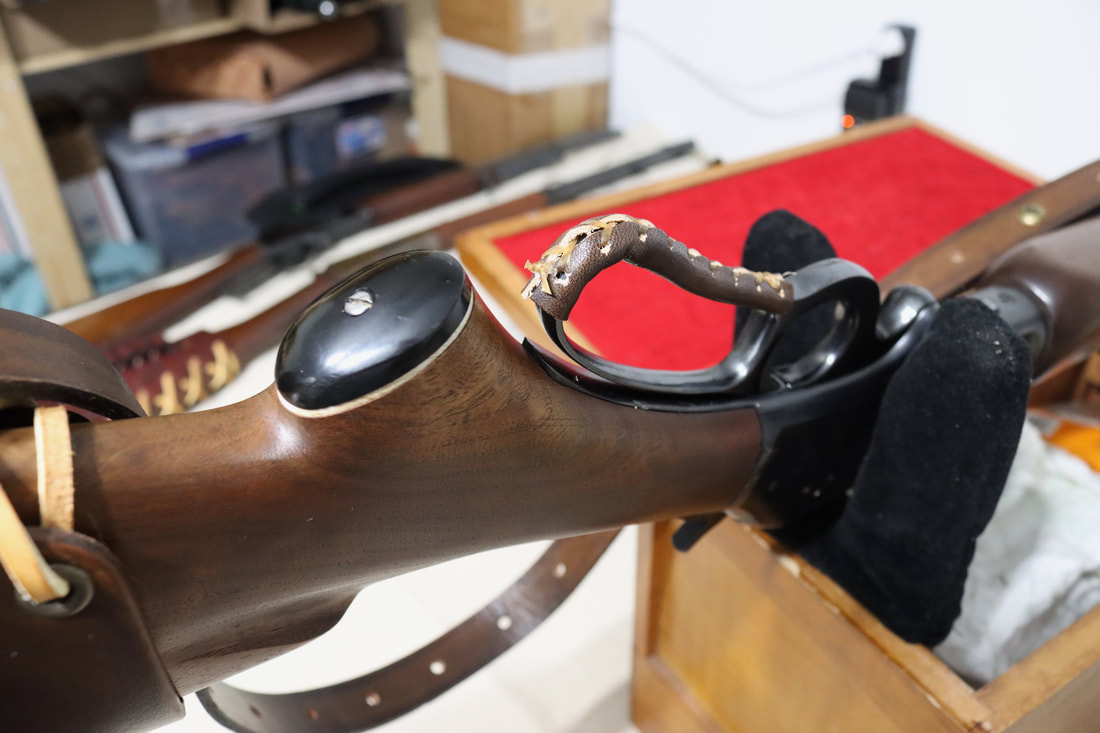
6. Using the provided stitching needles and artificial sinew, double loop the first holes closest to the trigger guard.
|
7. Cinch down the sinew but not overly tight, just tight enough to where the leather lever wrap closes up. Because the lever wraps are sized to accommodate various levers, if you have a larger width lever and cinch the sinew down very tightly, the leather can slightly tear. It does not have to be laced on super tight.
|
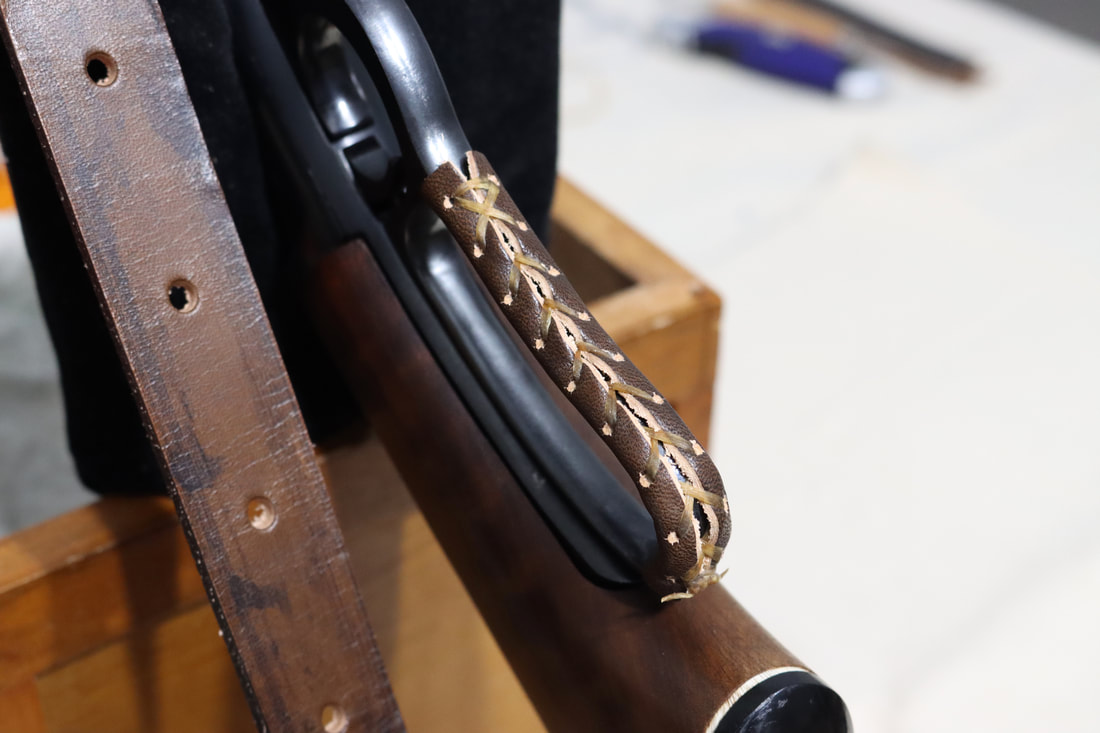
8. Lace the sinew in a criss cross pattern just like lacing a shoe or boot. You can also lace it in a looping overhand pattern. This is your choice and there is no wrong way to do this.
|
9. Continue lacing your leather lever wrap until you get to the last holes. As you get closer to the end, if your lever curves, you may have to mold the lever wrap some with your fingers. It can take a little time to get the lever wrap to go around a curve, but it will. This is why I chose to make my lever wraps from 3/4 oz leather as opposed to a heavier, thicker weight. Anything heavier than 3/4 oz would be very tough to lace up around a curve.
|
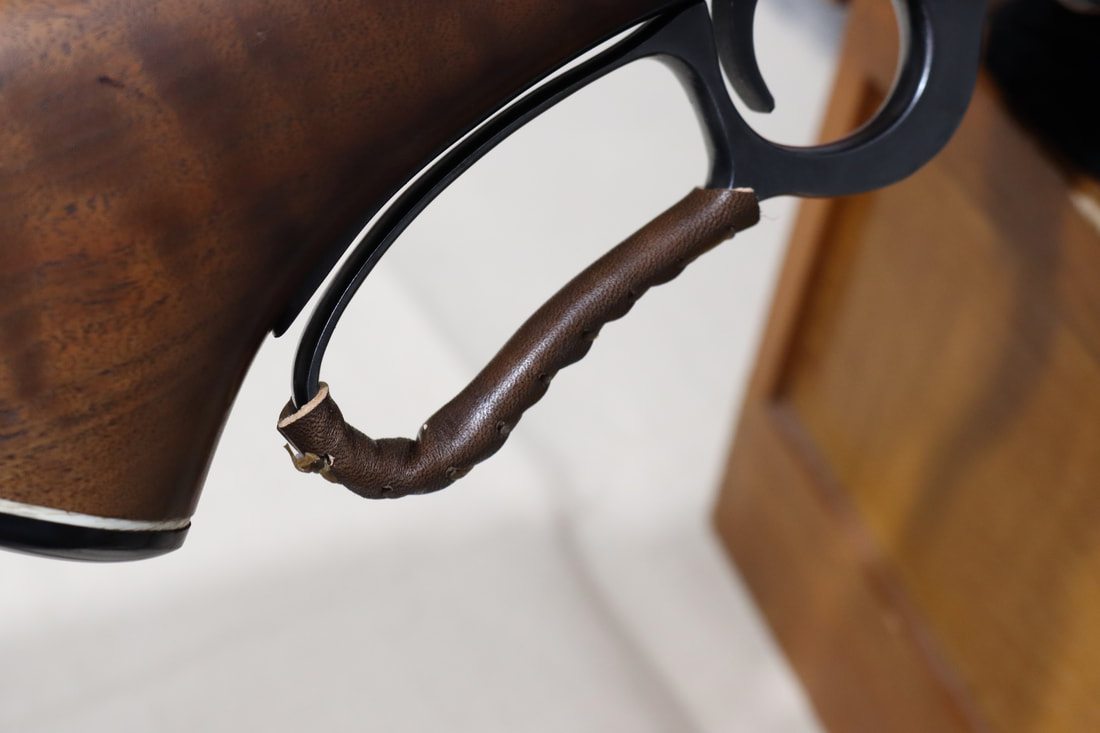
10. Double loop the last holes just like the first, then tie off the sinew in a square knot. Clip the ends and you are done! Your leather lever wrap is ready to hunt or hit the range!
|
11. Leather lever wrap shown laced on to my vintage 1950s Marlin Waffle Top 336 .35 Remington.
|
12. Leather lever wrap ready to go!
|
Sling Setup Instructional Video:
Tips on use and care for your Mason Leather:
- You should not have to clean or condition your Cartridge Cuff, Rifle Sling or other leather gear very often, once a year or even less is normal. I recommend wiping dust off with a clean, soft cloth. Condition the leather occasionally and lightly ONLY WITH Fiebing's Mink Oil Paste (easily found online). Before shipping I thoroughly finish the leather with Fiebing's Mink Oil Paste and it requires no further application for quite some time.
- NEVER USE AUTOMOTIVE, UPHOLSTERY, OR SHOE PRODUCTS ON YOUR MASON LEATHER.
- Do not hunt in the rain with your Mason Leather or get it wet. If your leather gets wet, it can cause discoloration and the cartridge loops can stretch amongst other issues. Again, do not hunt in the rain with your Mason Leather or get it wet.
- Take cartridges out of loops when not in use, or when the day's hunt is over. If you store cartridges in the loops long-term the loops may eventually become looser.
- Loops are sized to hold straight-wall cartridges midway on the case, not pushed down to the rim. Loops are sized to hold bottleneck cartridges with the shoulder of the case at the bottom of the loop. Shoving cartridges down through the loops to the rim will stretch the loops.
- Somehow, I have managed to hunt with my own cartridge cuffs and slings for many, many years and they still look great, even better than new, while some people seem to destroy something as soon as they touch it. Mason Leather is durable, functional and beautiful if properly used and cared for. Proper construction is my responsibility, proper use and care is your responsibility.
- Replacements will not be made due to improper use and care.